

Mig Welders: Comparing Eastwood vs. Lincoln -Thursday, September 11, 2014
"What we're going to do today is talk about Mig Welders, and in particular, our MIG135. Now recently we've had some inquiries about other units looking identical to ours, and they may. There's other units out there that look alike with the face, your different adjustment knobs, the switch. But we can't guarantee the performance or the weld quality of those units, but what we can do is we can guarantee the performance of our unit equivalent to the industry leader. This here happens to be the Lincoln MigPack 10. This is one of the most popular 110v Mig Welders on the market. "What I want to do is show you some of the differences and some of the similarities between these two units. The Eastwood welder has infinitely adjustable wire speed. It lets you tailor the speed to the material and the voltage output- same with the Lincoln unit. "The Lincoln unit, however, for the heat settings has just a 4 position switch here, while what we have on our unit is infinitely adjustable heat position and voltage. What this does is it allows you to dial it down for that thin sheet metal to patch panels and then also bring it back up to cover any thicker materials in your carbons and your stainless steels. "So what we're going to do now is show you these machines welding identical materials at identical settings and let you guys see for yourself the weld bead quality, the penetration, smooth wire feed and ease of use. "What we've got here is some 1018 3/16 gauge steel. We're going to do lap welds on both of the units. First one we're going to do is the Lincoln Mig Pack 10. This is the torch cabling coming right out of the unit. And then right after that we're going to stop and pick up the Eastwood Mig135, go ahead and run the same 1 1/2", maybe 2" long bead. [demonstration] "As you can see, pretty much equivalent between the Lincoln and the Eastwood, both in weld bead quality and also in penetration of the substrates."  Video Courtesy of Eastwood.com
 Video Courtesy of Eastwood.com
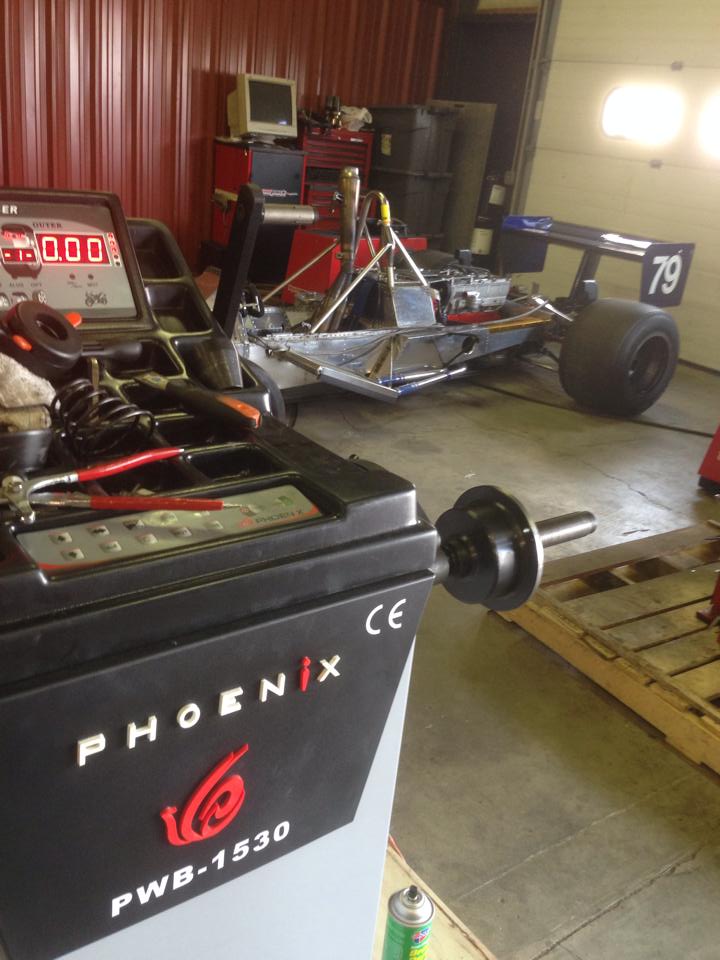
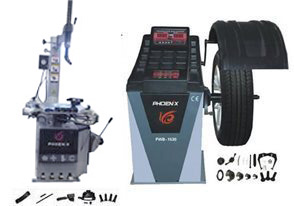 ks to Garry @ Garry's Precision Auto Service in Ford, NJ for this great review of the Phoenix PWB1530/PWC2950A Tire Changer/ Wheel Balancer Combo: "The machines are good for their price. I think I mounted over 148 tires already on the machine and the balancer has been perfect as of now. Thanks for the help."


